


When you're working with git, you can push and pull code.
I know it sounds weird.
When you push code, it means you putting it on the server. You're pushing it online.
When you pull code, it means that you're getting it off the server. You're pulling it down.
So, a pull request is an official request to pull or merge your code.
Today, we're going to look at how to write a good pull request, submit it, and approve it.
Let's jump in.
git is a big part of development because it's one way that developers work together. If you're not sure what git is, why you would use it, how to get it installed, check out some of the other videos in this series.
OK. OK. OK.
Before we jump into the code, Terminal, and GitHub, let's talk about why a Pull Request is important and why you'd want to write a pull request over, say, merging your code directly into master.
When you're working with a team...
A pull request allows other members of the team to look at your code and review the changes that you're making. This step is critical for improving and maintaining the quality of the codebase.
Usually, an admin or a code owner is the only one that can accept a pull request.
If you're contributing to an open-source project...
it gives the code owner a chance to make sure that the changes are in line with their long term vision of the project.
Even if you're working on a solo project...
pull requests are beneficial. Lately, I've been working on rebuilding the SelfTeach.me website. It's a Gatsby site, hosted on Netlify. Anytime I submit a pull request, Netlify publishes that code on a randomly generated URL. I can test the code on their server and make sure everything is working before I merge it into master. This keeps bugs and broken builds off the live site.
Hopefully, I've convinced you. So, let's talk about what this process looks like...
All my code is on GitHub. I'll show you what the process looks like, there. If you're using another service, like BitBucket or GitLab, it will be similar.
Let's start with our jokes repository that we've used in other videos. I'll include a link to GitHub in the description below.
We're going to add a new joke. Let's open the terminal and create a new branch:
1
git checkout -b new-jokeIn VS Code, let's open knock-knock-jokes.txt and add the following joke:
1
2
3
4
5
Knock, knock.
Who's there?
Kanga.
Kanga who?
Actually, it's kangaroo!
Let's go back to the Terminal, commit it, and push it to GitHub.
1
2
git add knock-knock-jokes.txt
git commit -m "Added a kangaroo knock knock joke"
Now, let's put this on GitHub.
1
git remote add GITHUB git@github.com:selfteachme/0012-pull-requests.gitHere, we're saying we want to add a remote repository. GITHUB is the name of the remote. Most places will say origin, but I think it's a little easier to read and know where your code is going if you name it what it is.
I've migrated projects from Bit Bucket to GitHub and by labeling the remotes like this, it made it easy to know where I was pushing my code to.
Now, I'm going to type:
1
git push --set-upstream GITHUB new-jokeSince this is the first time that we're pushing this branch to GitHub, I have to include this extra information. --set-upstream tells git where we want to send it. GITHUB is the name of the remote and new-joke is the name of the branch on GitHub we want to use.
As I said, you don't have to include the --set-upstream flag every time, only the first time you push a branch. I'll show you.
In knock-knock-jokes.txt let's add another joke:
1
2
3
4
5
Knock, knock.
Who's there?
Cactus.
Cactus who?
Cactus makes perfect.
Now in the Terminal:
1
2
3
git add .
git commit -m "Added a cactus knock knock joke"
git push
Works great.
Now, let's jump over to GitHub.
It knows that we recently pushed code and will give you this nice notice at the top:
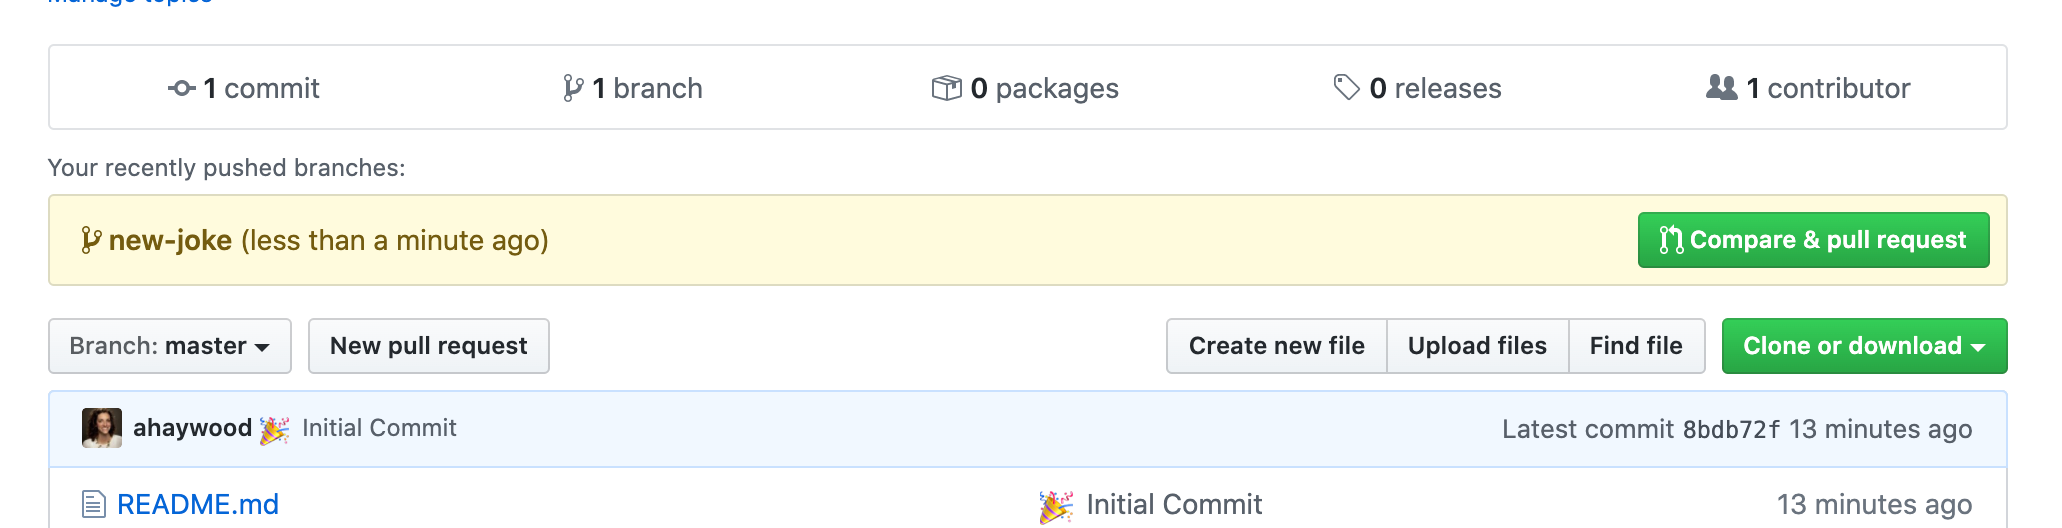
All I need to do is click this green button, "Compare & Pull Request"
Eventually, this message will disappear. So, let me show you another place you can go:
- Click on the Pull Requests tab at the top. You'll notice a box at the top, here, too. But, I'm going to click the New Pull Request button
- On this new page it says, "Compare Changes" and lists 2 different branches. We want to compare master to our new branch.
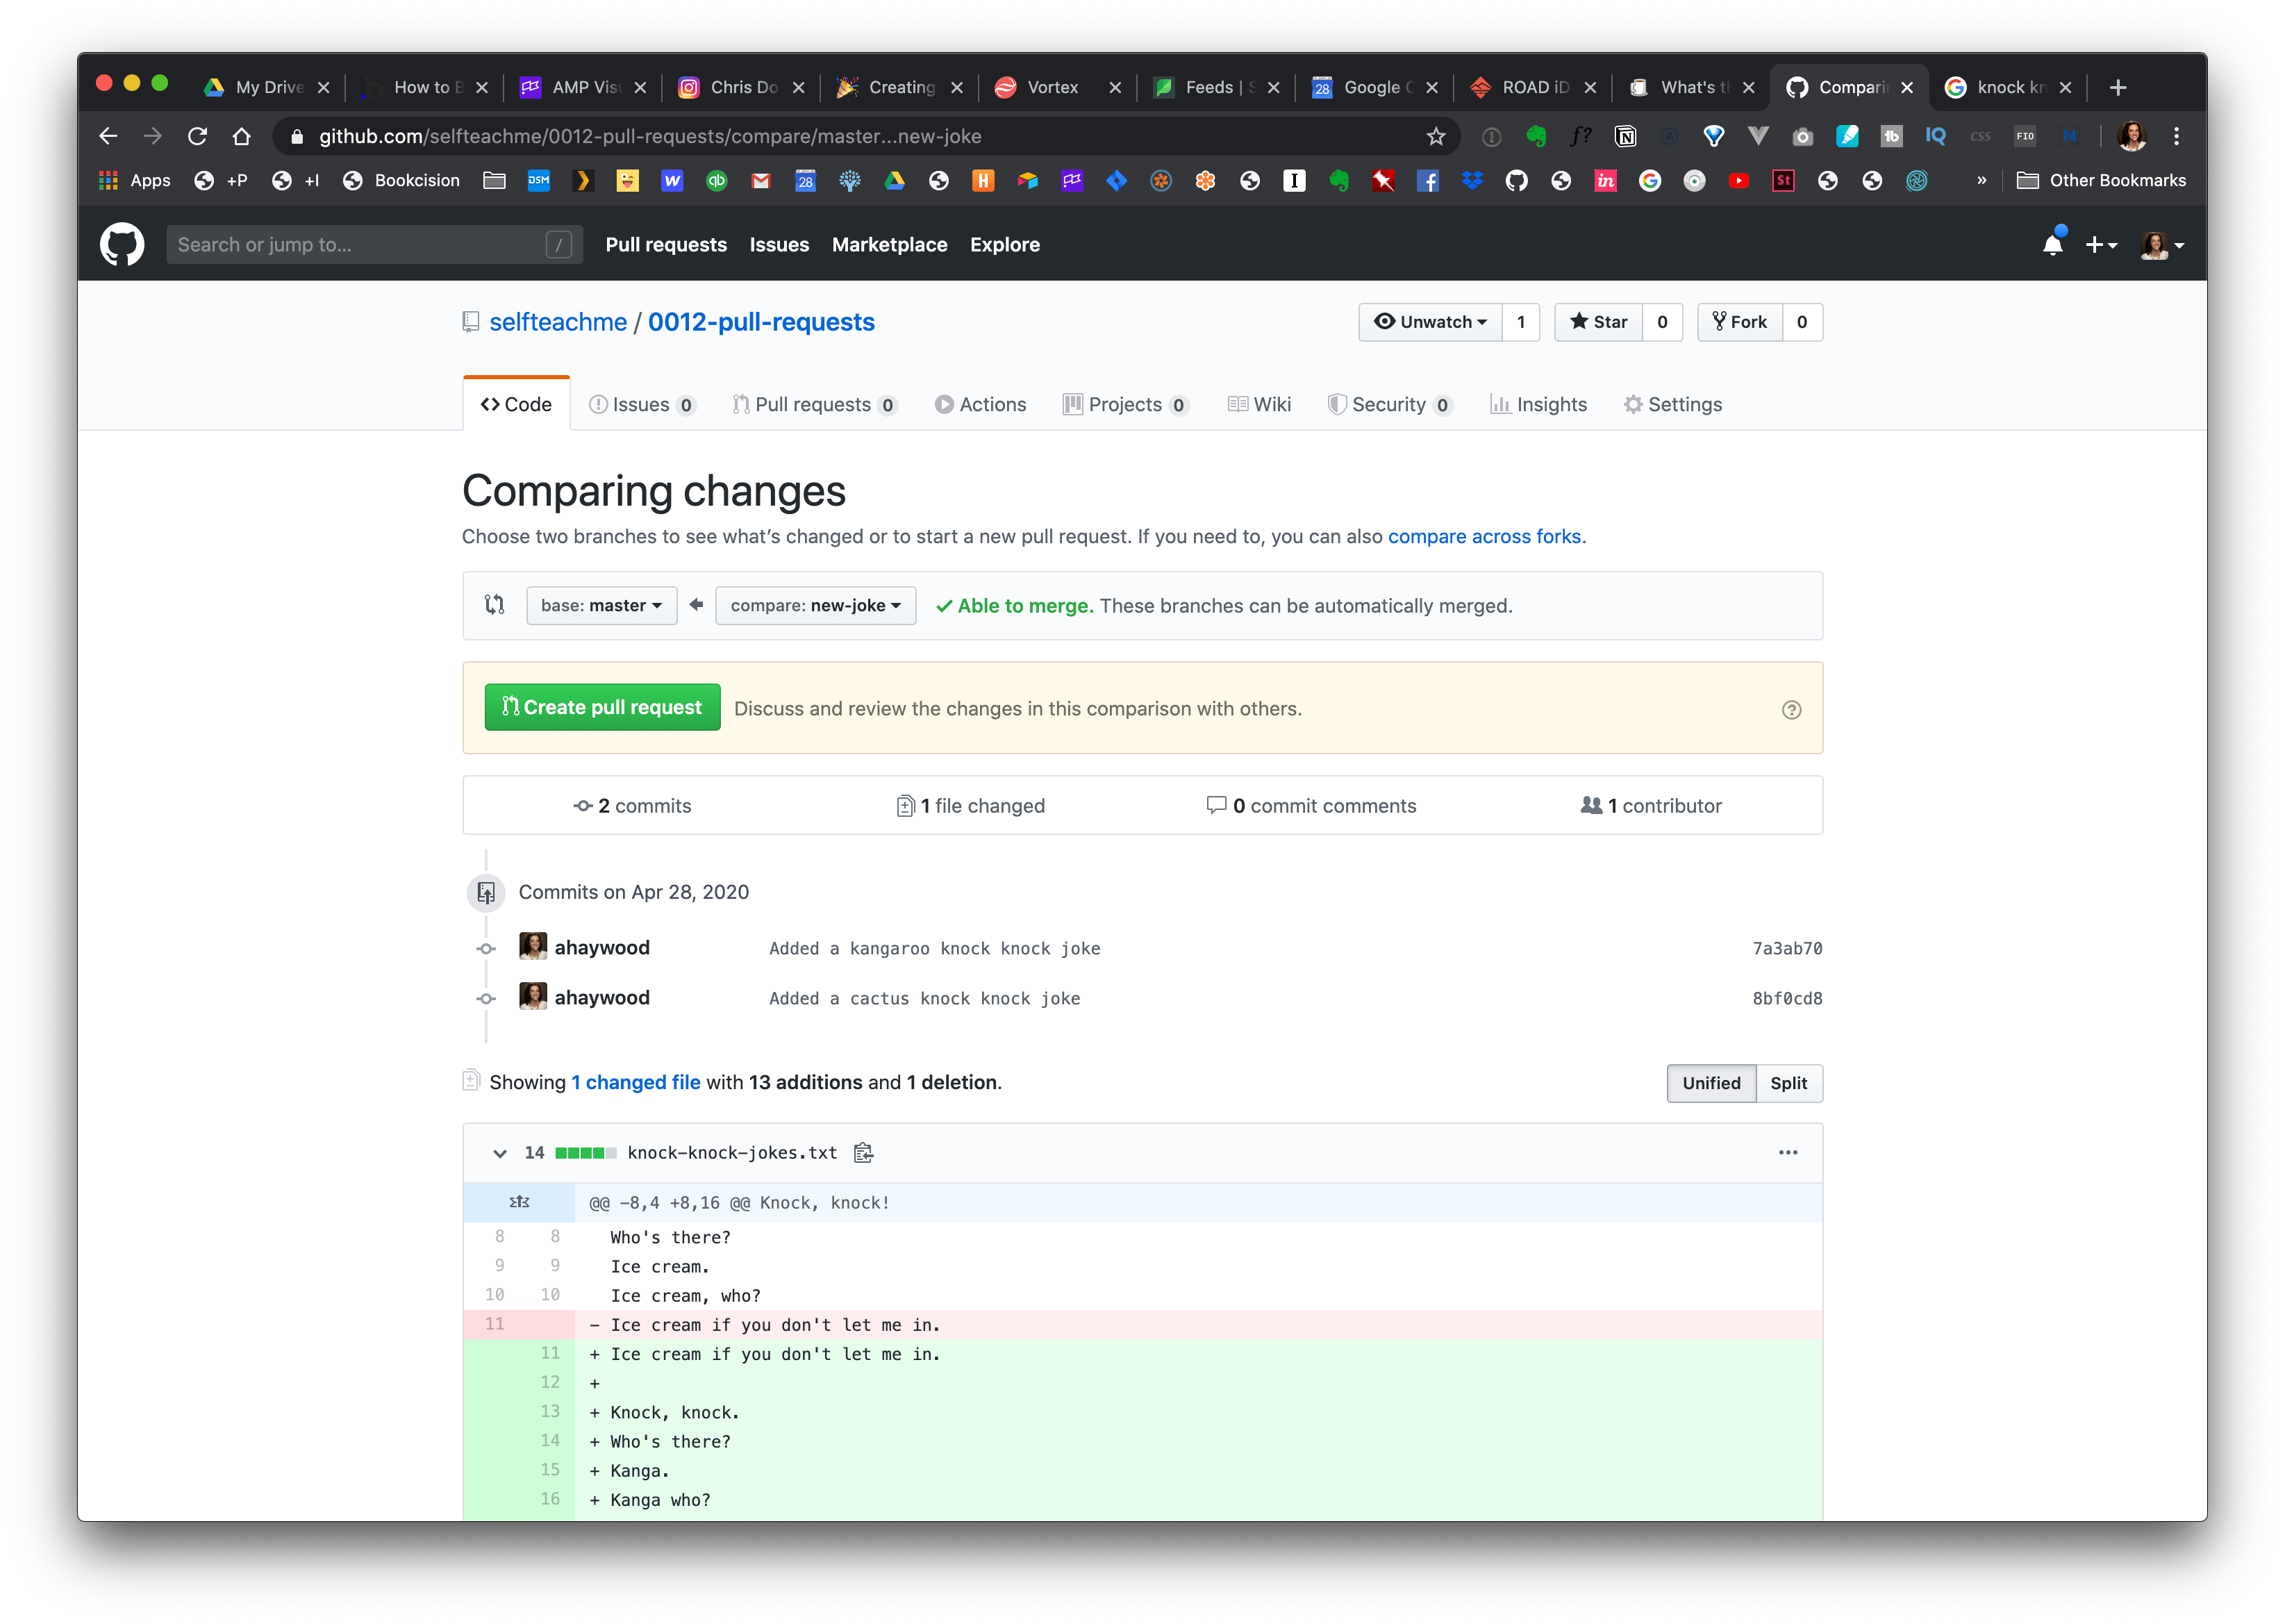
On this page, it shows you all the commits that were made and the differences in your final code from the master branch.
This all looks good, so I'm going to click on the Create pull request button.
Now, you need to write a brief description of the feature that you're adding. If this is a team project you want to bring the person reviewing your pull request, or PR for short, up to speed as quickly as possible.
I have a template that I use to write all my requests. I use a sweet little program called TextExpander.
With this program, you can set up text snippets and it will replace the snippet. For example, I type ;tha and it will expand to say Thanks, Amy. I also have snippets set up for my mailing address, website, you name it. A lot of times I'll start my snippets with a semi-colon since words don't begin with a semi-colon.
In our case, I just type ;pull and it will expand out.
I'll include a link to Text Expander and a gist with this template in the description below.
1
2
3
4
5
6
7
8
9
10
11
12
13
14
15
16
17
18
19
20
21
22
23
24
25
26
27
28
29
30
31
32
33
34
35
36
37
**Clubhouse ID:** #ADD LINK TO CLUBHOUSE STORY

## Feature description

Clearly and concisely describe the feature.

## Analysis and Design

Analyze and attach design documentation.

## Solution description

Describe your code changes in detail for reviewers.

## Output Screenshots

Post the output screenshots, if an UI is affected or added due to this feature.

## Address affected and ensured

List out the areas affected by your code change.

## Tests?

Describe the tests.

## Was this feature tested on all browsers?

- [ ] Chrome
- [ ] Firefox
- [ ] Edge
- [ ] Internet Explorer
- [ ] Safari

**Related PRs:** #ADD ANY RELATED PULL REQUESTS

---
Now, the Text Expander piece is just a bonus. You can actually set up a pull request template in GitHub. I'll show you, really quickly how to do that and then we can walk through everything in this template.
In the Terminal, let's go back to our master branch.
1
git checkout masterIn VS Code, I'm going to create a file called pull_request_template.md
Inside that file, I'm going to add my template. Save it.
In the Terminal, I'm going to go through the same song and dance.
1
2
3
git add .
git commit -m "Added a PR template"
git push
Now, instead of creating this PR, I'm going to click on the Code tab. You'll notice since we pushed directly to master (eek... technically that's not a good practice), you'll see the pull_request_template.md file in our list.
This time, I'm going to click the Compare & pull request button.
You'll notice, we didn't have to select the branches. GitHub was able to do that for us.
AND, you'll see our template is already loaded into our PR.
Now, let's walk through everything in this template. It's written in markdown, so anytime you see these double asterisks ** or pound signs # that's just for formatting. If I click on the Preview tab, you can see how it's going to look.
The first thing, here is the Clubhouse ID.
Clubhouse a website app that you can use to manage your project and work through features. A lot of times I'll include the story ID in the title of the PR, like this:
1
[CH1010]and then I'll include a brief description of the feature. We wrote a new joke, so this is fine.
But, I'll include a full link to the ticket, here, at the top.
Then, under ## Feature Description I'll quickly summarize the feature. This may seem redundant, especially if you're using something like Clubhouse. But, the idea here, is to help the person reviewing your code to get up to speed with what you're trying to do as fast as possible. They shouldn't have to click over to Clubhouse unless they really need to.
Under the Analysis and Design section, I might include a link to the Figma file or a link to Invision. This would also be a good place to include specifics about the design implementation.
Under Solution description I'll write about how I solved the problem. Remember, PRs are just as much as about maintaining code quality and you may want to explain your line of reasoning and why a specific change was made.
For Output Screenshots I'll upload a screenshot of what was happening before I made the change and after I made the change. GitHub makes this really easy. I'll just put my cursor where I want the image to go and then drag and drop the screenshot onto the textbox. GitHub will upload the photo and write the Markdown code for me.
⚡️
PRO TIP
Sometimes I'll use the Cloud App to create an animated gif. This is perfect if I'm trying to show motion or what happens when a user hovers or clicks on a button.
In the Address affected and ensured section you can list areas of the code that might be affected by the change. If a change was only supposed to affect a small area of that app, I'll include that information here. That will help any reviewers know how extensive the change was and if they see something else change, they'll know whether or not that was intentional.
Under Tests I'll write any information about the tests that were added.
Was the feature tested on all browsers? Here is a checklist of the different browsers. We can check these off by putting an x inside the brackets.
Then, the last section Related PRs. This is helpful if we branched off something other than the master branch or if there's another feature that's closely related to this one. Sometimes, it's important to merge branches in a specific order, to avoid merge conflicts. If so, you'll want to document that here.
Whew — now that we've made it through the whole template, I'll be the first to admit that this overkill for adding 2 little jokes to our repo. But for real projects, this list is incredibly helpful. I'll always start with this template and then delete the sections that I don't need.
Here, I'm going to delete everything except the Feature Description and the Address Affected and Ensured.
Under the Feature Description, let's add
1
Added 2 knock jokesUnder Address Affected and Ensured
1
Changes only affected the knock-knock-jokes.txt file.Perfect. Now, let's click that green Create Pull Request button.
On the right side, you'll notice a few options. — these are GitHub specific.
- You can add someone as a Reviewer. This will flag that person to review your code.
- You can assign this PR to someone. This should be the person that will ultimately merge and close the PR.
- You can assign labels to a PR. A few projects I've worked on will use a Review label if they need someone to review the PR. Or a WIP flag if it's a Work in Progress and you're not ready for someone to review your code yet. A WIP flag is also great if you want to open up a conversation about your code while you're working on it. — And yes, that means that your code doesn't have to be final in order to open a pull request.
- You can associate your PR will a Project or Milestone.
- You can also link your PR to Issues, if you're using GitHub's Issue system.
I've mentioned several times that pull requests are great for maintaining quality. One way that's accomplished is through code review.
Click on the Files Changed tab. This will show you all the code that has changed within your PR. As you can imagine, this page could get awfully long if you made a lot of changes. That's one reason why it's better to keep PRs small. It's easier to review small iterations than it is to do adopt major code changes all at once.
Ideally, when you submit a PR, someone else on your team will come to this page to review your code. You'll notice, I can click next to a line number and make a comment about a specific line of code, or I can click and drag to make a comment on a block of code.
1
This joke would be funnier if...I can also click on this "Start Review" button to officially start the review process. I can click on this "viewed" checkbox after I've viewed a file and it will collapse that file. — That makes this page a little easier to process.
Then, when I'm done, I can click on the Finish your review button and you can comment on the code as a whole. You'll also notice I can approve it or request changes. Pretty cool.
Obviously, I would never review my own code, that would be kind of dumb since I wrote it. But, again, this gives you an idea of how these tools work with a larger team.
You'll notice, GitHub won't even let me approve my own PR.
OK. I'm going to back to the Conversation tab.
GitHub knows that it can merge my code without any conflicts. So, I can go ahead and merge this pull request.
Click on the confirm button
Now, that it's been merged, you'll want to do a little housekeeping and just delete the branch. You're not losing anything all that information is stored within the history of the PR.
Click the delete button
Now, if we go back to the Code tab and click on the knock-knock-jokes.txt file, you'll see our new jokes are included.

Comments
This industry moves fast, but you can stay up to date:
Receive a weekly email of the Internet's best from articles, to tutorials, to pro tips.