


git
Let's talk about branching.
First, you may be wondering, "What is branching?"
A branch is an independent line of development.
So far, we've spent a lot of time working on the master branch.... I suppose that's been fine for what we've been doing, but really, that's a bad development practice.
Branches within git
Really, when you're developing each feature should receive its own branch.
This way, development on different features can happen simultaneously. If it's a team with multiple developers, then we can all be working on our own code, at the same time, without worrying about interfering or overwriting each other's code.
Plus, this prevents unstable and half baked code from being live on the site.
Once a feature has been finished and approved it can be merged back into the master branch.
Meaning, your master branch should only contain finished, production-ready code.
Let's dive a little deeper into what this looks like within an actual project.
git is a big part of development because it's one way that developers work together. If you're not sure what git is, why you would use it, how to get it installed, check out some of the other videos in this series.
Let's jump into some actual code. Let's keep working on our jokes repo that we've been working on in some of the previous videos. If you want to follow along, all my code is on GitHub, feel free to download, use it, modify it, whatever.
Right now, we have a single jokes.txt file that has a bunch of different jokes in it. Let's break the file up into multiple files based on joke categories.
Right now we're in the master branch.
In the terminal, you can see we're on the master branch. You can also look in the bottom left corner of VS Code and see we're on the master branch.
Remember, master should be the production-ready version of our code. You can think of it as your official project directory. In fact, when you visit GitHub, it displays the master branch by default.
A best practice is not to mess with master. It's supposed to be a stable version of your code, used in production.
Let's create a new branch to work from, in the Terminal, type:
1
git checkout -b feature/joke-in-categoriesThat -b is a flag that creates a new branch.
The branch name can't have any spaces.
You'll notice, I named my branch feature/THE-NAME-OF-THE-FEATURE . The feature/ is just part of a naming convention.
Naming conventions make it easy to find what you're looking for. Different teams will use different conventions.
Some people may choose to name their branches based on the author
- users/username/description
- users/username/feature-name
Others, will label them by bugfix, features, or a hotfix
- bugfix/description
- features/feature-name
- hotfix/description
You could also add an additional level of hierarchy, by including a feature-area
- features/feature-area/feature-name
But, the important thing to remember here is: one feature per branch, or one bug per branch.
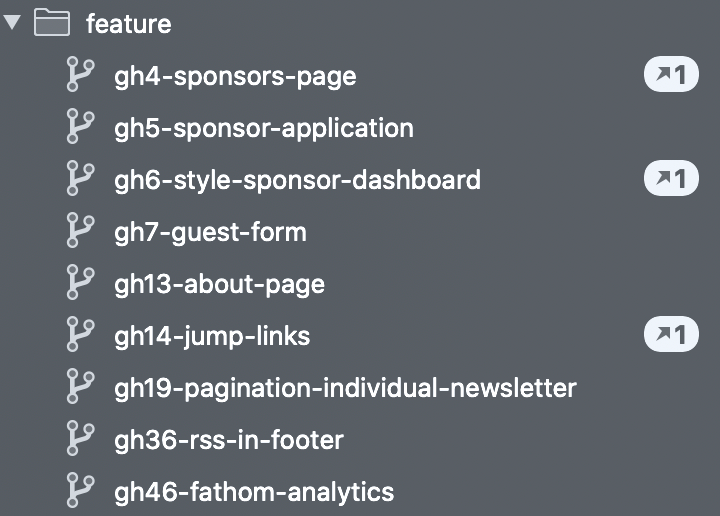
For projects I've worked on, I'm usually working from some kind of ticket or issue system. I've found it helpful to include the ID number from that ticket within the branch name. This helps, me at least, find the branch that I'm looking for.
1
features/gh10-descriptionRegardless of what convention you decide to use, the important thing is to be consistent.
OK, so now we have our new branch and we're on the new branch instead of master. You can see, with the tools I'm using in the Terminal, it actually tells me what branch I'm on.
Now we can make the changes we want for our project.
Within the jokes.txt file, you'll see we have several jokes:
1
2
3
4
5
6
7
8
9
10
11
12
13
14
15
16
17
18
19
20
A journalist asked a programmer: what makes code bad?
No comment

If having a coffee in the morning doesn't wake you, try deleting a table in a production database instead.

How many programmers does it take to screw in a light bulb?
None, it's a hardware problem.

---

Why can't a nose be 12 inches long?
Because it'd be a foot.

---

Knock, knock!
Who's there?
Hatch.
Hatch who?
Bless you
Let's break this file apart so that we have a different file for every type of joke.
I'm going to create a new file, called programming-jokes.txt and add the first 3 jokes to that file. Just a quick copy and paste.
Now, let's create a file called riddles.txt and copy and paste the next joke there.
Last file: knock-knock-jokes.txt and copy and paste the last joke there.
Since our original jokes.txt file doesn't contain anything, we can get rid of that file.
OK, let's commit our work, just like we've done in the past:
1
git addThat . means to stage all the changes we made. There's no need to add each file individually.
1
git commit -m "Broke jokes out into separate category files"Awesome! Now that our feature is complete, we can merge this back into master.
So, let's move back over to the master branch:
1
2
git checkout master
git merge --no-ff feature/joke-in-categories
The --no-ff flag means that its going to create a new commit when it merges. So, when you hit enter, you should see the vim text editor open up within your Terminal. Here it wants you to add a commit message for your merge.
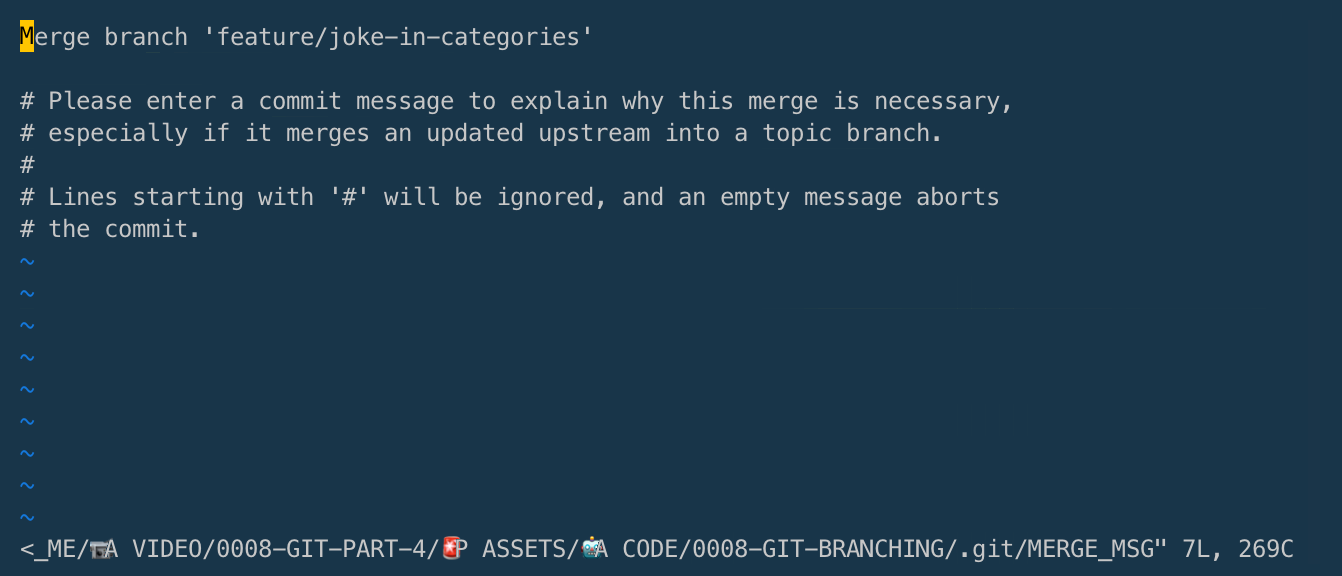
I'm just going to use the default message it created for me: Merge branch 'feature/joke-in-categories'
I can hit :wq to save and quit.
Now, I'm going to type
1
git logso we can see our history of commits:
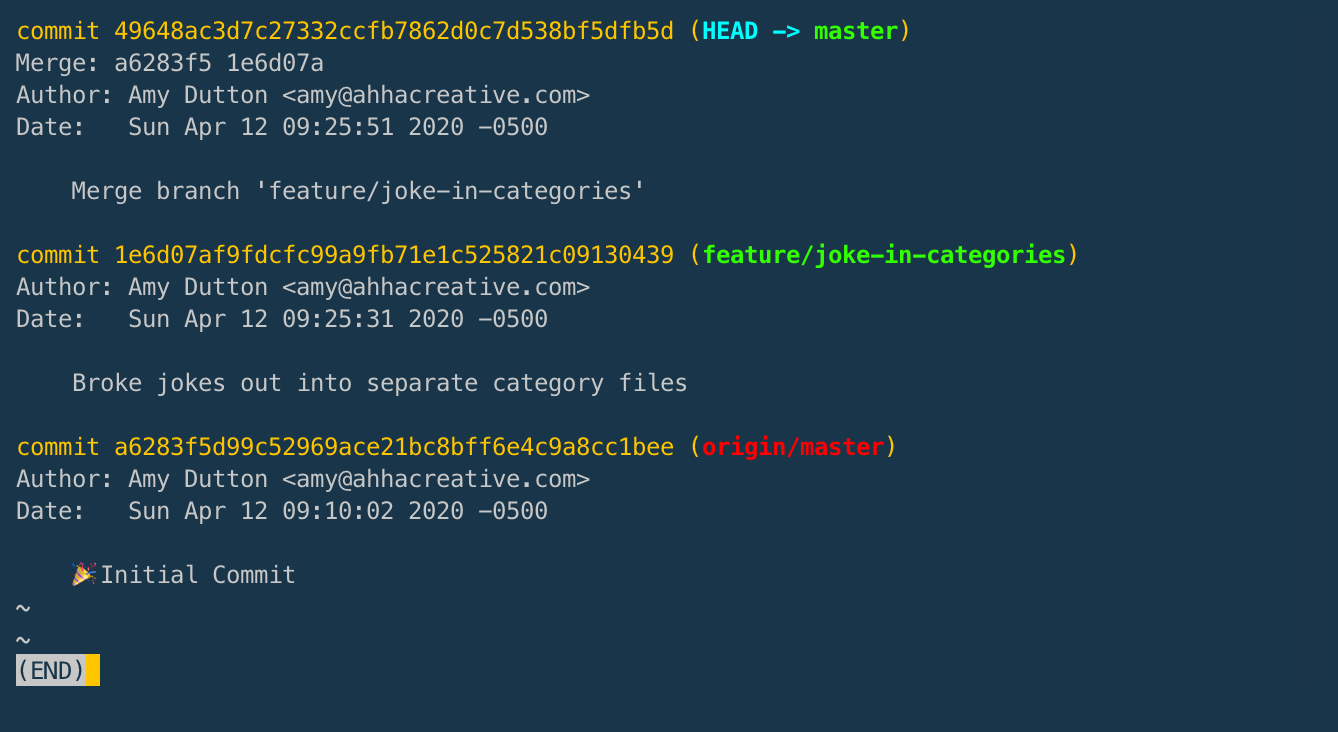
The most recent commit is at the top. If we start at the bottom, you can see that was our initial commit. Then, we made another commit that broke the jokes out into separate files on the feature/joke-in-categories branch. Then, we merged that code into master.
I've told you before, I like to use a program, called Tower. I like the visual representation it shows you:

It makes the history a little easier to understand.
Let's go through the process one more time, there's one more thing I'd like to point out:
I want to add some more Knock Knock Jokes, let's create a new branch:
1
git checkout -b "new-knock-knock-joke"Oh no! I forgot to use the feature/ as part of my branch name. No worries. Within the Terminal, type:
1
git branch -m "feature/new-knock-knock-joke"Since we're on the branch that we're trying to rename, this is all we need to do.
But, I'm not going to run this command just yet. I want to show you how this would work if you're trying to rename a branch you're not on. Let's move over to master:
1
git checkout masterNow, to rename our knock-knock joke branch we can run:
1
git branch -m "new-knock-knock-joke" "feature/new-knock-knock-joke"Perfect. Now, we just need to check out the knock-knock joke branch in order to make our change:
1
git checkout "feature/new-knock-knock-joke"Within knock-knock-jokes.txt I'm going to add:
1
2
3
4
5
Knock, Knock
Who's there?
Ice cream.
Ice cream who?
Ice cream if you don't let me in.
Let's commit this joke:
1
2
git add .
git commit -m "Added an Ice Cream joke"
Let's pretend that this joke needs to be approved before we can add it to master. In the meantime, we need to add a new riddle.
What do we do?
We need to create another branch, but we need to "fork" off master. This keeps everything clean and separate. Plus, this way it doesn't matter which joke gets approved first. We can merge these branches in any order.
Within the Terminal:
1
2
git checkout master
git checkout -b "feature/add-a-riddle"
Now, if we open our knock-knock-jokes.txt file you'll see that the ice cream joke isn't there. — Good, that's what we want!
Let's open riddles.txt and add this:
1
2
Did you hear the joke about the roof?
Never mind, it's over your head.
Now, we can commit this:
1
2
git add .
git commit -m "Added a roof riddle"
Let's merge both of these branches into master.
1
2
3
git checkout master
git merge --no-ff feature/new-knock-knock-joke
git merge --no-ff feature/add-a-riddle
Perfect!
Now, let's double-check our knock-knock-jokes.txt file. Perfect, our ice cream joke is there. And if we got to the riddles.txt file, we can see the roof joke, too.
For the record, sometimes you'll work with code that builds off itself. In that case, you don't necessarily want to wait until your code gets merged into master to start on the new feature and you don't want to rebuild the feature on your new branch.
What should you do?
Glad you asked! You can fork off your new branch, you just need to make a note so that the branches get merged to master in the correct order.
Before we call it quits, let's do a little housekeeping.
To list all the branches in our repository, in the Terminal type:
1
git branchYou can also type
1
git branch --listboth commands do the exact same thing.
I think you can already see that this list might get long.
The * indicates what branch you currently have checked out.
Deleting the Branch once it has been Merged into Master
1
git branch -d branchNamegit has your back. If you try to delete a branch that hasn't been merged into master, git will tell you!
If you want to delete a branch that has not been merged, losing that work forever, you can force it:
1
git branch -D branchnameIf you want to see a list of branches that have not been merged into master, you can use the following command:
1
git branch --no-mergedSimilarly, you might have guessed, this command:
1
git branch --mergedwill show a list of all the branches that have been merged.
Let's remove all the branches that we've merged in:
1
2
3
feature/add-a-riddle
feature/joke-in-categories
feature/new-knock-knock-joke
Done.
All the code is posted on GitHub. Feel free to download it, play with it, modify it, share it, use it, whatever. Have at it!

Comments


This industry moves fast, but you can stay up to date:
Receive a weekly email of the Internet's best from articles, to tutorials, to pro tips.